Your first setup should produce a specific result: a named agent can receive a real message and reply from the correct account.
This guide puts the preparation in order; the channel and team articles cover the detailed setup tasks.
You will need administrator access, the identity of the workspace you are preparing, and someone to test the customer experience.
For an external channel, arrange access to its administration settings or involve the person who manages it.
Establish the account and language
Check the selected account before changing anything, especially if you work across several businesses or workspaces.
Channels and agent settings belong to the account you are currently using.
Looking in the wrong account can make an existing channel appear to be missing.
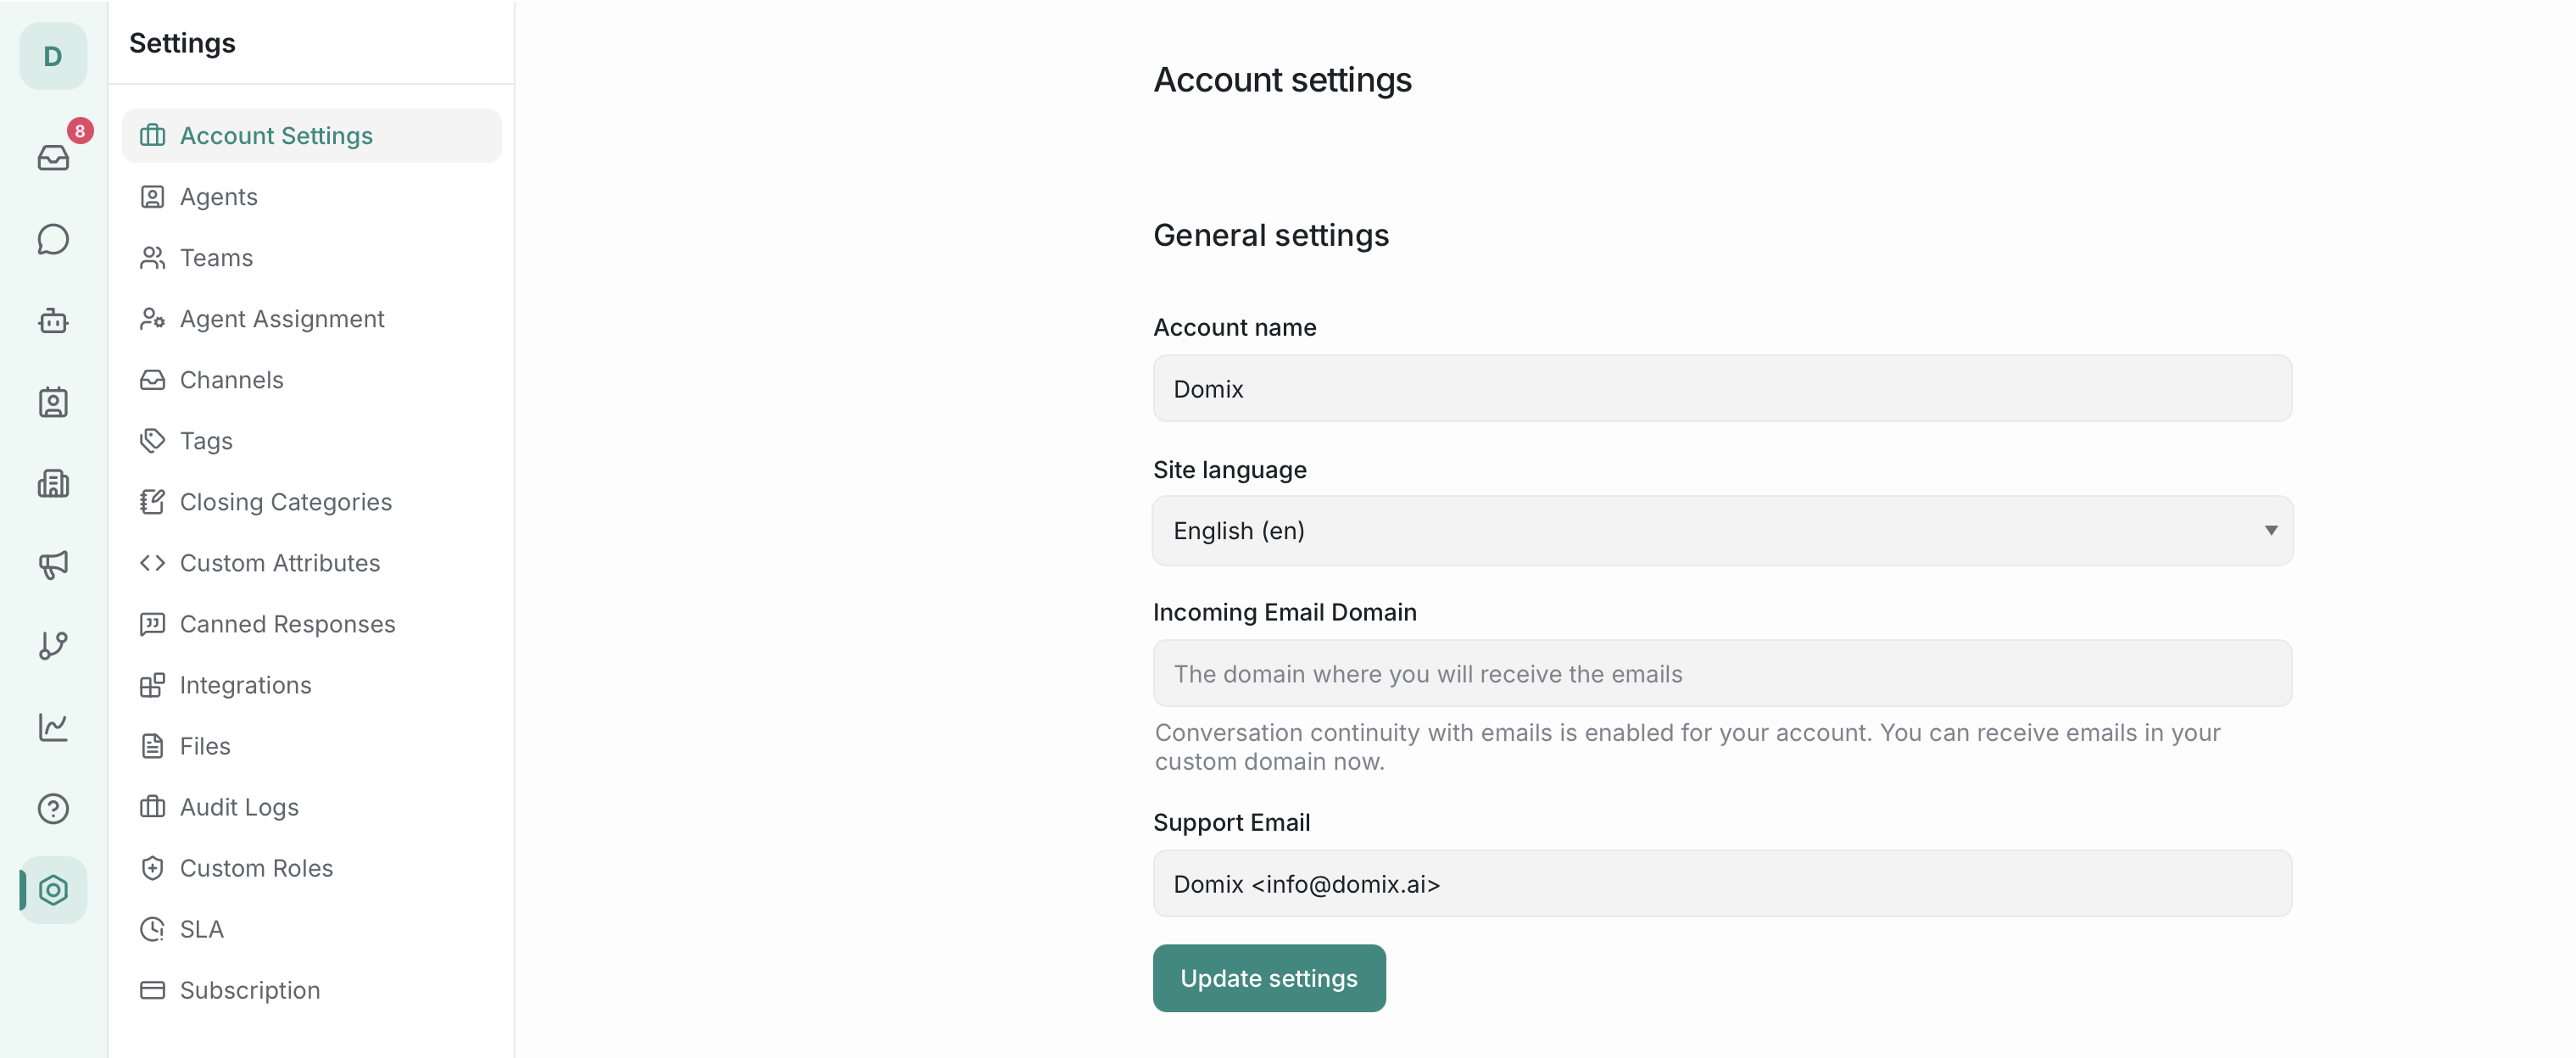
Open Settings → Account Settings and review the account name and default language.
Choose a name your team will recognize, such as “Store Customer Support.”
The account’s default language and your personal interface language are separate settings.
If your interface stays in its previous language after an account change, check your profile’s language preference rather than repeatedly changing the account default.
Choose a starting channel and an owner
Choose a channel you can test today. Website chat is a useful first example if you have a site and can install its widget code.
WhatsApp, email, and other channels require the connection details or authorization appropriate to that channel.
Start the inbox setup under Settings → Channels.
Give the Channel a meaningful name, such as “Website — Support,” rather than “Channel 1.”
Agents will use that name to recognize where a conversation came from when several channels are connected.
Add your test agent to the account and make them a member of the relevant Channel.
An account user and an Channel member are separate parts of setup.
Follow “Connect Your First Channel and Receive a Conversation” and “Invite Your Team and Prepare Your Workspace” for the corresponding procedures.
Decide how the first messages will be handled
Agree who will watch for new conversations and who will cover their absence.
For the initial test, you can assign the conversation manually.
This lets you confirm receipt and replies before adding automatic assignment rules that introduce another part to diagnose.
Review the agent’s profile and notification preferences for the alert method they intend to use.
A missing notification is not enough to conclude that a message never arrived; check the conversation list as well.
Verify both sides of the exchange
Send a short message from the customer side, open it as the test agent, and send a reply.
Confirm that the customer sees the reply.
Add a test internal note and verify that it stays out of the customer’s view, then resolve the conversation after the test is complete.
If the administrator sees the conversation but the agent does not, check the selected account, inbox membership, and conversation filters.
If neither sees it, investigate the channel connection first.
Once this exchange works, you have a sound basis for adding more agents and channels.